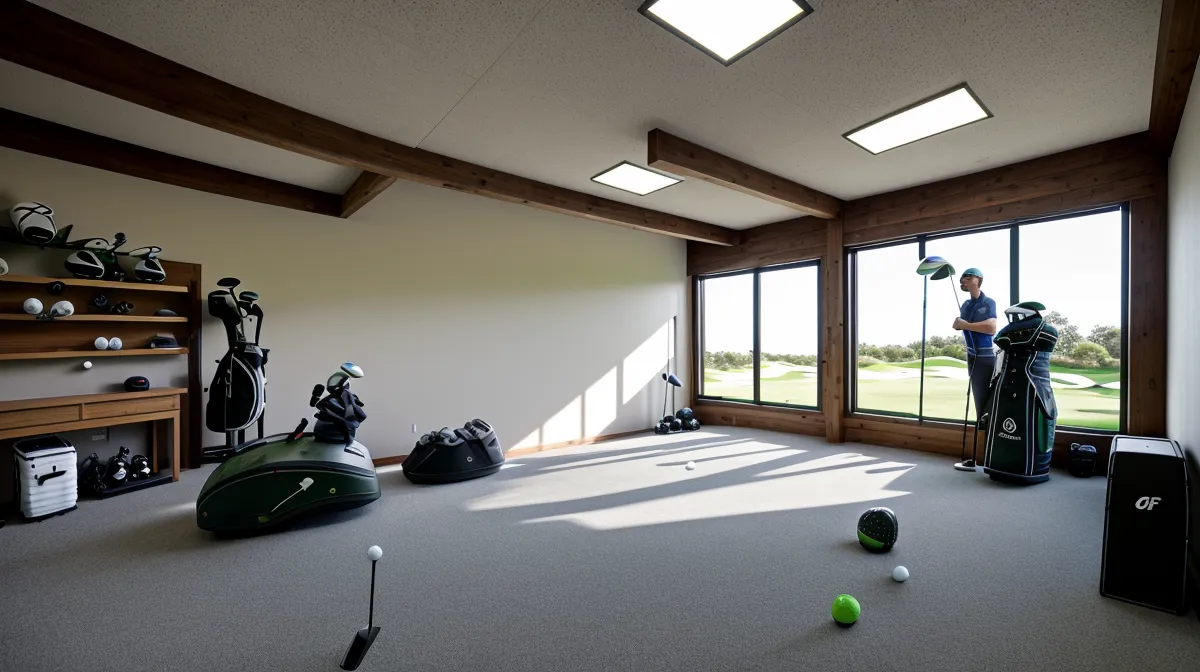
The ball comes off the face flat and low, cracks into the screen, and the reverb off the concrete back wall is still going when I look down at the readout instead of watching where the shot actually went. On the projection I'm four feet from the pin on sixteen at Pebble Beach, a hole I have never once played in real life, and the SkyTrak underfoot says the ball carried farther than it felt off the clubface. Two years into running this rig out of half a garage in suburban Cincinnati, that gap between feel and number is still the whole story of what indoor golf actually is.
Quick disclosure since gear is already in the conversation: some of the links in this piece are affiliate links, and if you buy through one I get a small commission at no extra cost to you. I only write up hardware that has physically lived in my garage, which is also why a couple of these get called out by name for failing. Here's the myth that gets repeated in nearly every build-tour video and every garage golf simulator forum thread: buy a decent launch monitor, hang a screen, level a mat, and you're playing real numbers by dinner. That is not how the first month goes, and it is not how the two-year version goes either. What actually determines whether your data is trustworthy has almost nothing to do with the box the launch monitor shipped in.
Garage Golf Simulators Are Not Plug-and-Play
A colleague of mine, Conrad Farawell, is the reason any of this happened in the first place. He built a rig in his own basement three years before I touched an indoor mat, and he's the one who sent me a build-tour link at 1 AM that I happened to be awake to watch. The video made it look simple: buy the sensor, bolt up a screen, done. Ask Conrad about any piece of gear now and he'll have three competing options ready before you've finished the question, which should tell you how not-simple the actual build turned out to be for both of us.
My hardware line item landed at roughly $4,980 once everything arrived — about $2,600 into the SkyTrak Golf [Garage Pick] itself, $850 into a 10x10 impact screen and frame, $600 into a mat, and the rest into a projector, cabling, and a scavenged office PC (a stance my wife made official months ago with a ban on new simulator purchases through December 2026, and I don't expect an early parole). Anyone pricing the same list piecemeal should look at what Indoor Golf Shop bundles together, because sourcing every bungee cord and grommet on your own is its own tax on a weekend. None of that spreadsheet is why the first month felt like unpaid tech support, though. The room did that.
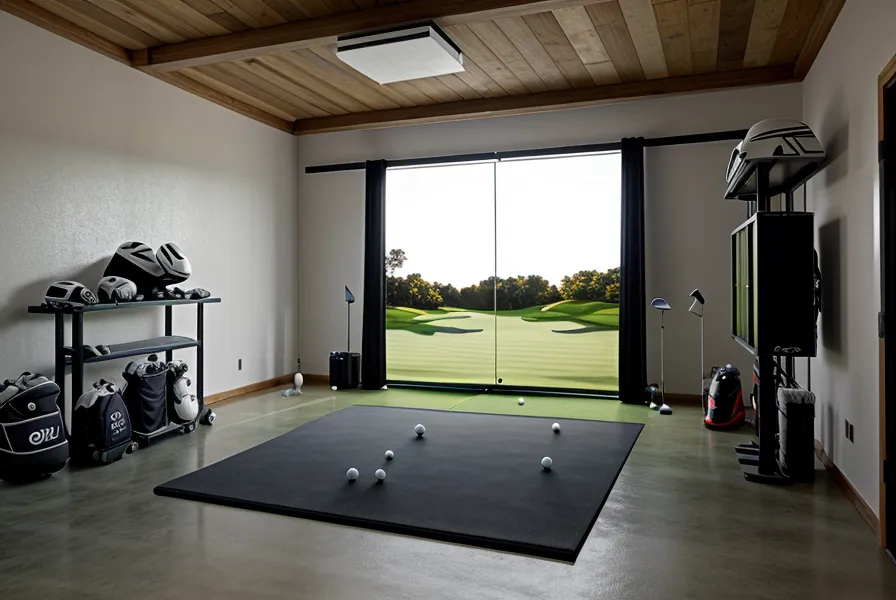
Why Ceiling Height Isn't the Whole Envelope
Whether you need a full enclosure frame or just an open bay with a hanging screen and a net is its own fork in the road, one I won't relitigate here — but it matters before you ever pull out a tape measure. Everyone fixates on ceiling height as the number that decides whether a garage build works, and raw height and usable swing clearance turn out to be two different measurements once real hardware goes into the room. Real Garage Golf Simulator Space Requirements for a Full Swing is worth reading before you buy frame hardware, not after.
I measured my own joists six times and landed on 108 inches, nine feet even, which clears a driver for a guy with a titanium knee who doesn't over-rotate anyway. My first enclosure frame said otherwise. Its top rail sat lower and farther forward than I'd accounted for, and it ate almost a foot of the swing arc I thought I had — I caught the frame with a practice swing before I ever hit a real ball, tore the whole thing back down, and rebuilt it with the crossbar pushed back against the rear wall instead.
A guy from the local Discord, Nate Grullón, is doing this same build in a single-car bay — half my width — and he documents every square inch he gives up to make it work. Watching his setup made me realize my own garage isn't as tight as I complain about: nineteen feet of depth from where I set up the ball to the back wall, a poured concrete floor with an old oil stain in the far-left corner I've never bothered to clean, one eight-foot LED shop light bolted above the hitting bay, and a working garage door on the right sealed along the bottom edge with a strip of rubber weatherstripping that keeps most of the draft out. It's not a purpose-built studio. It's a garage that happens to have golf in it now.
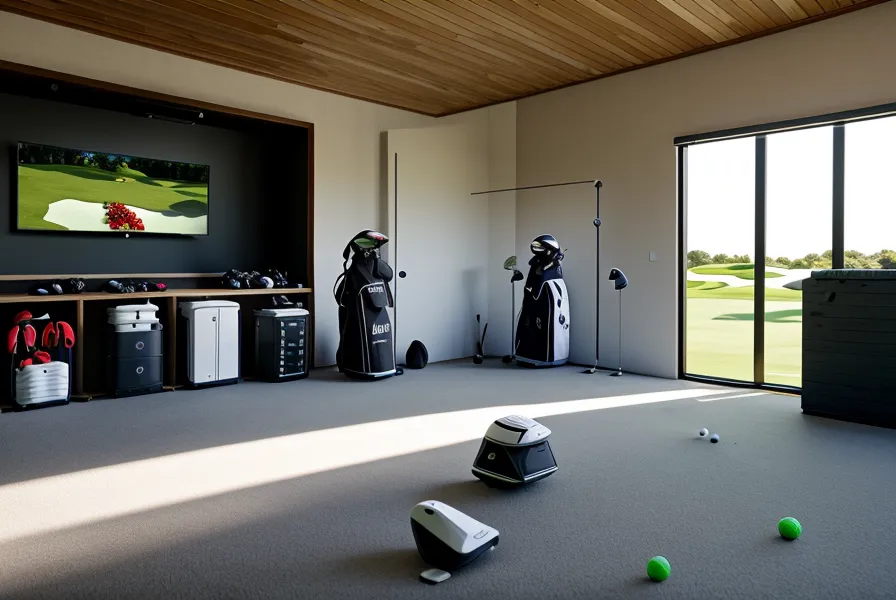
What Bright Light Really Does to a SkyTrak Reading
Light is what actually broke my sensor readings that first stretch, more than any spec on the box. SkyTrak reads a ball photometrically, off a high-speed camera image, and a stray sunbeam through my garage's high window would wash the picture out enough that the alignment dot disappeared or the unit simply refused to register a shot. I assumed the unit was defective. Wrong diagnosis entirely — the window was uncovered and the sensor was sitting right in its path, and no amount of fiddling with the companion software fixed either problem, because software can only work with the image the camera actually captures. A twenty-dollar blackout curtain solved more of my accuracy complaints than any setting inside the app ever did.
Temperature matters on top of that. A detached, unheated garage in Cincinnati in January is a different calibration problem than the same setup in a climate-controlled bonus room, and it's rarely mentioned anywhere in the marketing copy. If your own setup fights you the way mine did, the calibration walkthrough in Best Golf Simulator Software for SkyTrak Users This Year covers the software side of that fight in more depth than I will here.
The Glare That Was There Before the Curtains Went Up
Separate from the sensor problem, the projector had its own light fight going on. Before the blackout curtain went up, any session before full dark meant the projected course image on the screen looked washed out and flat — greens read as gray, sand traps barely registered, and I was essentially guessing at slope instead of reading it. Contrast on a projected image in a garage is its own project, and I'll leave the full breakdown of bulb lumens and ambient light control to people who've actually tested different fixtures side by side rather than stumbled into one fix by accident. What I can tell you is that curtain went up before I ever touched a setting on the projector itself, and the difference was immediate.
The Mat I Returned and the Knee That Made Me Do It
Concrete floors are unforgiving, and I tried to be cheap about it early on. My first setup was a hardware-store floor mat topped with a scrap of high-end turf, which felt fine standing on it and behaved like a yoga mat laid over a sidewalk the moment I hit anything fat. After roughly twenty mishits in one practice session, my surgically repaired knee ached for three days straight. I returned that mat, replaced it with a proper cushioned hitting strip, and I'd tell anyone building this to skip the DIY floor-mat phase entirely and go straight to gear built for repeated impact — shops like Golf Direct Now carry the heavier weighted mats made specifically for that kind of daily abuse. How much give a surface needs to protect a joint is its own deep subject, one better covered by a guide built specifically around joint health than by one guy's returned mat. Slab leveling turned out to matter almost as much: my floor isn't perfectly flat, and getting a mat to sit without rocking or creeping forward on every swing is a leveling problem before it's ever a cushioning problem.
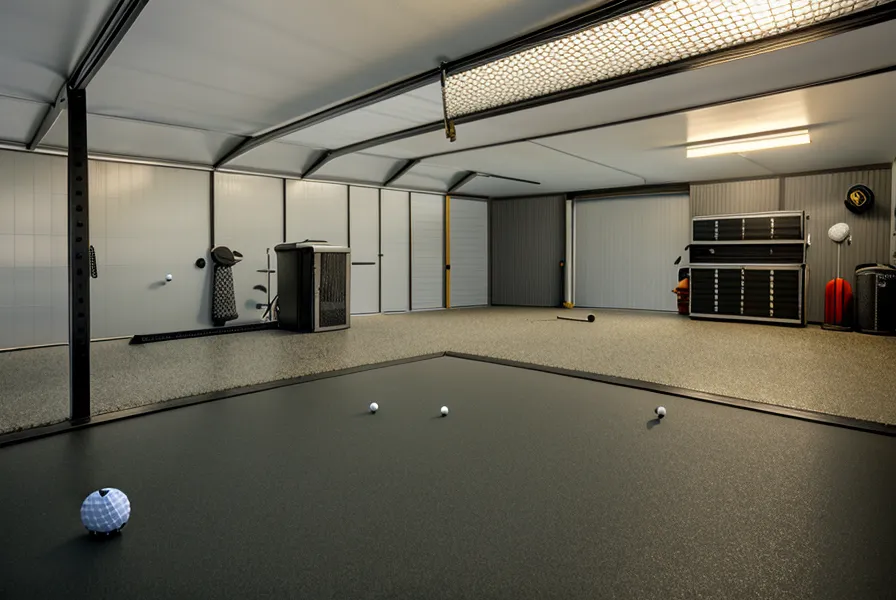
A Screen Patch That Didn't Survive Three Buckets of Balls
The impact screen taught me the same lesson twice. Early on I bolted a foam-padded reinforcement panel over the main strike zone, hoping to cut the noise and take some repeated-impact stress off the fabric. It split clean along its seam by the third bucket of range balls. Fast lesson, faster refund — a screen is closer to a home theater screen built to eat a direct 70 mph hit than it is to a projector sheet you just need to see clearly. Durability on any DIY screen comes down to the tensioning system and the weight of the material a lot more than anything printed on a product page, and that's a rabbit hole worth its own separate read rather than a paragraph here. I also had the main screen strung too tight at first, which sent balls rocketing back toward my shins instead of dying against the fabric; loosening the bungees until the screen carried a slight belly fixed both the sound and the ricochet. Top Golf Simulator Enclosure Kits for DIY Garage Projects generally solve that tensioning problem with better hardware than my early bungee setup ever did, and a proper side net or barrier for the shots that miss the screen entirely is a separate purchase most first-time builders forget until the first shank finds a paint can.
Reading the Numbers Instead of Trusting the Eye Test
SkyTrak's cameras work photometrically — snapping rapid images of the ball at impact the way a product photographer lights a single shot, rather than tracking it continuously the way some radar-based competitors do. The core metrics it hands back are their own subject, and Best Golf Simulator Launch Monitors for Mid Handicap Players covers what each of those numbers actually means for a player at my level better than a single paragraph here could. What earned my trust in the first place wasn't a flattering number. My 7-iron carry settled at 156 on a clean strike, and 156 is the exact yardage printed on the scorecard for a hole I've played more rounds on than any other, out at Lunken Golf Course near the airport in the East End. Seeing a sensor in my garage independently land on a number I already trusted from a real round is the actual first-month test — not whether the software looks good, but whether it agrees with a number the course already gave you.
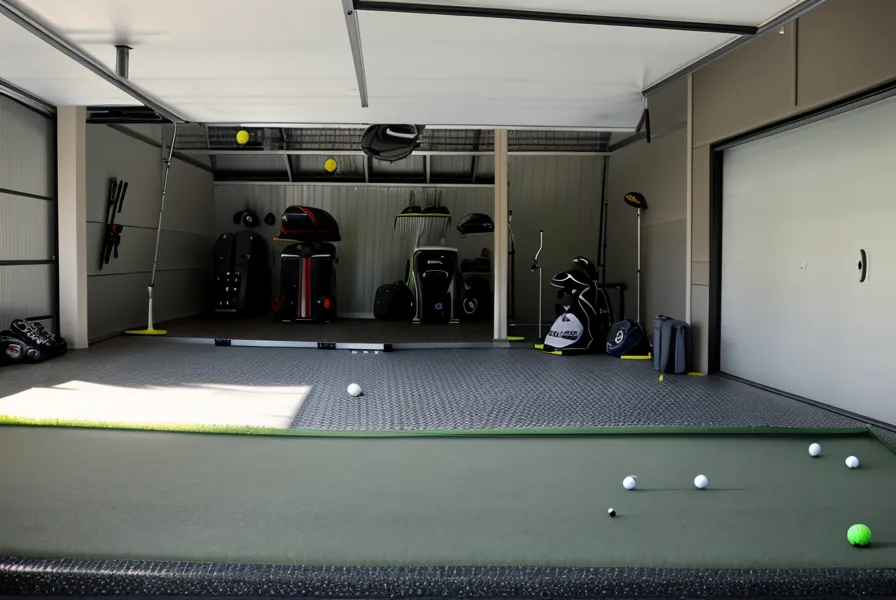
Numbers like that change what happens on actual grass too. I'm not chasing the score I used to post before the knee surgery, but I'm not hunting for balls in the right-side rough as often either, and some of that credit goes to hitting five hundred balls a week in a garage instead of hoping range time fixes anything on its own. It's tempting to reward that kind of progress with course gear instead of more indoor gear — a SWAG Golf putter for the vanity of it, or an electric push cart from Alphard Golf so the knee survives a back nine at Lunken without a cart-path shortcut. None of that is simulator gear. It's just what happens once the indoor numbers start meaning something outdoors.
So Is the Garage Simulator Myth or Reality?
Neither, exactly. The hardware does what the spec sheet promises — SkyTrak reads a ball accurately, the software runs stable enough that I'm not doing tech support on my night off, and a nine-foot garage really is enough room for most swings. But none of that arrives working out of the box the way the marketing implies, and every failure above cost me a return, a rebuild, or three days of a sore knee before I figured out why. The correction to the myth is simple: budget for the room, not just the sensor. Curtains, mat cushioning, screen tensioning, and frame clearance are not accessories you add later — they're the difference between data you trust and data you argue with. SkyTrak Golf [Garage Pick] is still where I'd start if someone asked me today, and if you'd rather not source every bungee and grommet separately, the full kits at Indoor Golf Shop save you the exact headache I gave myself. Measure your ceiling in inches, account for the frame you're about to bolt to it, and expect the first month to be about the room as much as it's about the number on the screen.