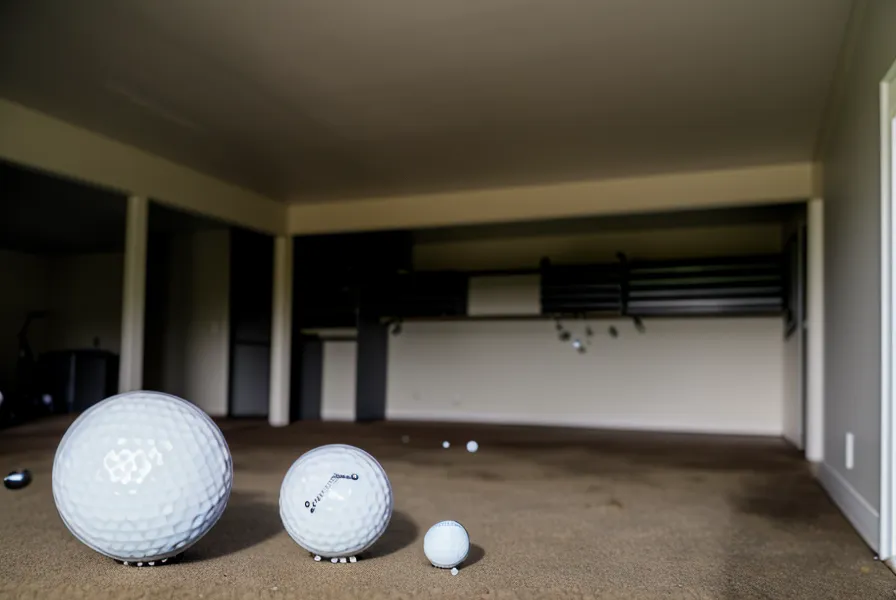
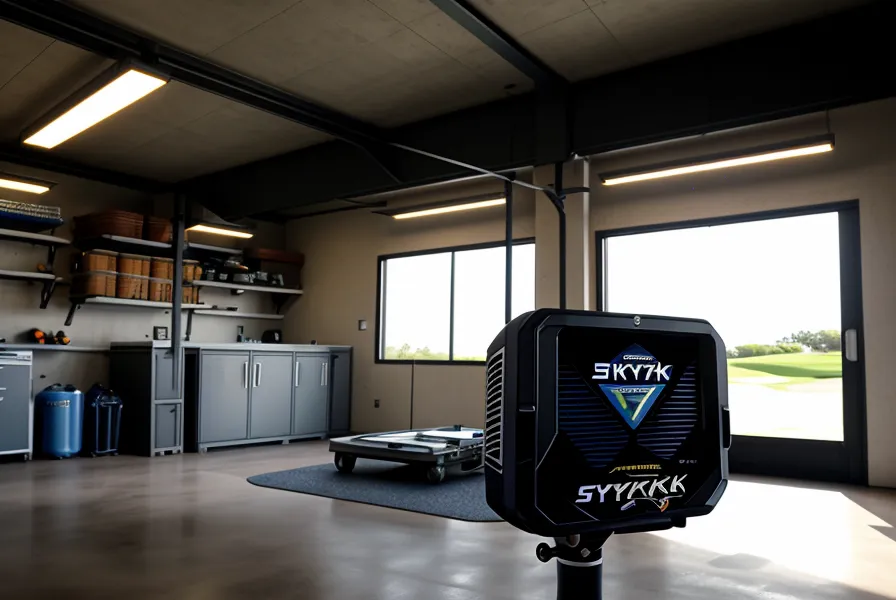
It happened in mid-November, right around the time the Cincinnati dampness starts sinking into your bones. I was out in the garage, standing on my SIGPRO mat, trying to groove a smooth 7-iron into my new SkyTrak setup. I caught one so far off the hosel it didn't even register on the launch monitor; it just shrieked right, bypassed the impact screen entirely, and punched a clean, golf-ball-sized crater into the drywall three feet from my water heater. The sound was like a gunshot in a library. I stood there, frozen, half-expecting my wife to burst through the door and officially revoke my garage privileges (she has already banned any new SIM purchases until December 2026, so I was on thin ice).
Before we get into the weeds of how I fixed my amateur-hour aiming, a quick heads-up: when you click through to a launch monitor or simulator product on this site and buy something, the vendor pays me a commission. The price you see at checkout is exactly the same, but that commission helps me keep the garage heater running. I only talk about gear I have actually beaten up in my own suburban Cincinnati lab, which is why some of these reviews might sound like a guy complaining about his lawnmower.
The 14-Handicap Reality of Garage Golf
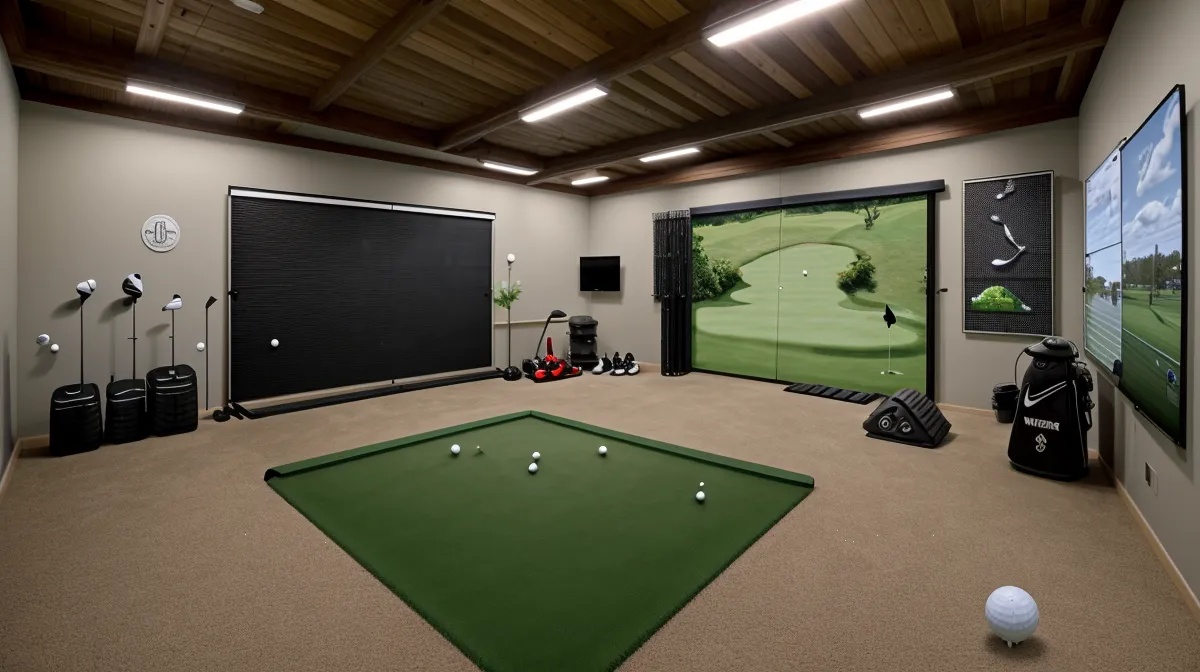
When you spend months watching YouTube simulator builds at 2 AM, you see these pristine, wall-to-wall carpeted studios where every shot is a dead-center stripe. Back in the real world, I am a 14-handicap who had knee surgery in 2023. My swing is... inconsistent. My garage setup is basically a high-tech camera setup for a YouTube studio, except instead of a microphone, I am aiming a projectile at a screen at 70 mph. If you are swinging in a space with a minimum garage ceiling height of 9 feet, you are probably feeling pretty good about your clearance until that first shank happens.
The problem is that a standard impact screen only covers about 8 to 10 feet of width. If you are like me and occasionally forget how to release the clubhead, that ball is going to find the gap. After the mid-November drywall incident, I realized my 'half-garage' sanctuary was one bad swing away from a very expensive property damage claim. I needed a way to protect the walls that didn't involve building a literal cage.
The Search for the Perfect Shank Net
By early January, I had spent roughly forty hours researching side protection. I looked at everything from heavy-duty industrial curtains to cheap Amazon pop-up nets. I even considered hanging old moving blankets, but my wife (rightfully) pointed out that the garage already looked like a 'hobo camp' with all the cables and the projector mount. I needed something professional that wouldn't fail the aesthetic test.
I eventually landed on the Indoor Golf Shop as my primary source for a solution. They specialize in enclosures that turn a DIY hitting area into a secure simulator bay. When you are looking at shank nets, you have to consider the 'buffer zone'—that space between the net and the actual wall. If you pin the net directly against the drywall, the ball will just stretch the mesh and still leave a dent. It is like trying to stop a bowling ball with a tennis net that is taped to a window.
High-Density vs. Low-Density: The Rebound Tradeoff
Here is the thing no one tells you in the marketing copy: there is a measurable tradeoff when it comes to netting density. Higher-density netting material offers superior wall protection because it is tougher and lasts longer, but it creates significantly more ball rebound velocity compared to lower-density mesh. I learned this the hard way with a generic sports net I bought and returned within a week. The ball hit the high-density mesh and snapped back at my shins so fast I had to jump out of the way. It was like playing racquetball with myself. The lower-density stuff 'catches' the ball better, but you run the risk of a high-speed wedge shot eventually burning a hole through it.
Top Picks for Garage Wall Protection
After testing a few different configurations and sending two back (including a net that smelled like a tire fire), here is what actually works for a suburban garage build.
1. The SIG12 Enclosure (The Gold Standard)
If you have the budget and the space, the SIG12 from the Indoor Golf Shop is the 'buy once, cry once' solution. It is a full enclosure that wraps your hitting area in heavy-duty fabric and netting. It effectively eliminates the need for separate shank nets because the side walls are part of the structure. I didn't start here because of the price tag—shipping a SIG12 is a freight event, not a porch drop—but after my third drywall patch, the math started to make sense. It is like a home theater screen that is designed to take a beating.
- Pros: Total protection, professional look, integrated impact screen.
- Cons: Expensive, takes a few hours and a helper to assemble.
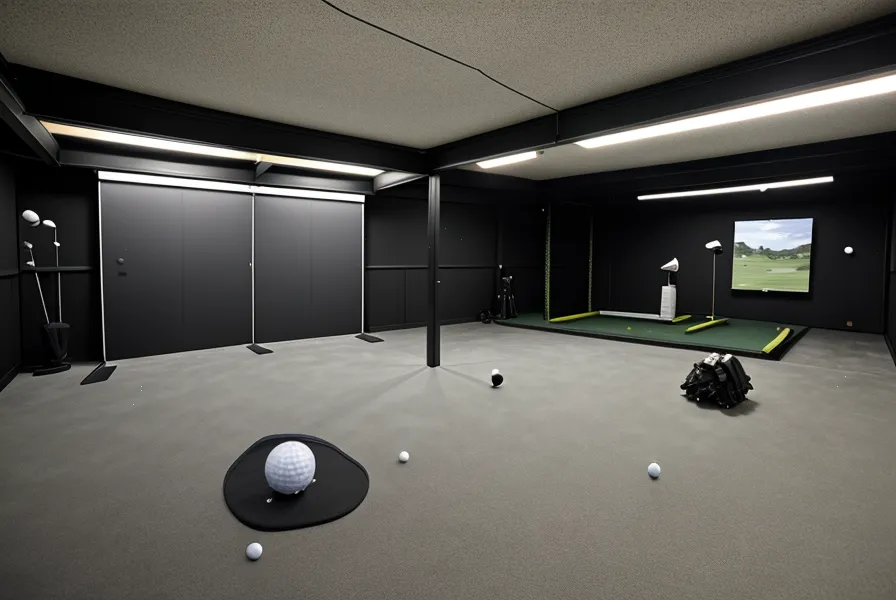
2. SkyTrak Golf Side Nets
For those of us already using the SkyTrak Golf launch monitor, they offer specific side net attachments. These are great because they are designed to clip onto existing frames. Since the SkyTrak uses a photometric camera plus dual Doppler radar, it is sitting right there on the floor anyway. These nets usually angle at 45 degrees to the hitting line, which is the sweet spot for catching lateral miss-hits. I used these for a few months before I upgraded to a full enclosure, and they saved my water heater at least twice.
3. Golf Direct Now General Netting
If you are looking for a more budget-friendly, 'neighbor over the fence' DIY approach, Golf Direct Now carries a variety of standalone nets. While they aren't always simulator-specific, you can find high-quality baffles that you can rig up with some PVC pipe or bungee cords. Just be careful with the mounting; if you don't leave that buffer zone, you are wasting your time. I bought a backup wedge here last month and noticed their netting selection is decent if you know what you are looking for.
Comparing Your Options
| Product | Best For | Wall Protection Rating | Rebound Risk |
|---|---|---|---|
| SIG12 Enclosure | Permanent Builds | Excellent | Low |
| SkyTrak Side Nets | Small Spaces | Good | Moderate |
| DIY Baffle Nets | Budget DIY | Variable | High |
The Turning Point: Late March Assembly
By late March, I finally pulled the trigger on a professional-grade enclosure setup from the Indoor Golf Shop. The arrival of the freight pallet was a moment of truth. My wife watched from the kitchen window as I spent most of a Saturday wrestling with metal pipes and heavy black fabric. It was a frustrating process—I definitely dropped a few choice words when I realized I had put a connector on backward—but once it was up, the garage transformed. It went from a 'guy hitting balls into a sheet' to a secure simulator bay. I finally felt like I could swing my driver without worrying about the garage door tracks.
I also realized that having a secure enclosure changed my practice habits. When you aren't afraid of a shank, you actually swing through the ball. My 7-iron carry went from a tentative 145 yards to a confident 155 yards simply because I wasn't flinching at impact. It is amazing what knowing your house is safe will do for your tempo.
Wait, What About My Other Gear?
While I was fixing the walls, I also looked into how I was treating the rest of my 'walk-around' game. Since I am only playing 9 holes once a month on a real course now, I wanted to make sure my gear was ready for those rare outings. I looked at the Alphard Golf Cybercart, which won the 2025 MyGolfSpy Best Overall award. It is a beast of an electric push cart. However, I did see a few reviews mentioning battery cycle life concerns—one guy said his gave out before hitting the 500-cycle warranty mark. For $5,000 in total gear, you want things to last, so I am holding off on that until I see if my knee can handle more walking this summer.
I also treated myself to a SWAG Golf putter upgrade. It is made from 303 stainless steel and is honestly too nice for my garage, but practicing on a foam mat with a tour-spec milled putter makes me feel like I am at Augusta, even if I am just in suburban Cincinnati. If you are going to spend the money, the feel of a milled face is one of those things you can't fake with a cheap off-the-rack stick.
Final Reflections from the Garage
One Tuesday night last month, I was playing a virtual round at Pebble Beach. It was late, the house was quiet, and I was really starting to lean into a few long irons. I hit a hosel rocket that would have normally ended the session in a cloud of drywall dust. Instead, the ball thudded harmlessly into the side netting, dropped straight down to the turf, and stayed there. No bounce-back, no damage, no angry wife. That peace of mind is worth every bit of the low-four-figures I spent on the enclosure and the complete simulator package.
If you are building your own setup, don't skimp on the side protection. You might think your 14-handicap is 'good enough' to hit the screen every time, but all it takes is one bad swing after a long day at work to remind you that you are human. Whether you go with a full enclosure from the Indoor Golf Shop or a set of dedicated side nets for your SkyTrak, protect your walls first. Your drywall—and your marriage—will thank you.
Now, if you will excuse me, I have a Thursday night tee time at St. Andrews in my garage, and I am pretty sure I can get my handicap down to 12 if I can just stop three-putting on the virtual greens. Just remember to check your flooring options before you commit to a heavy enclosure, as that concrete slab is less forgiving than the netting above it.