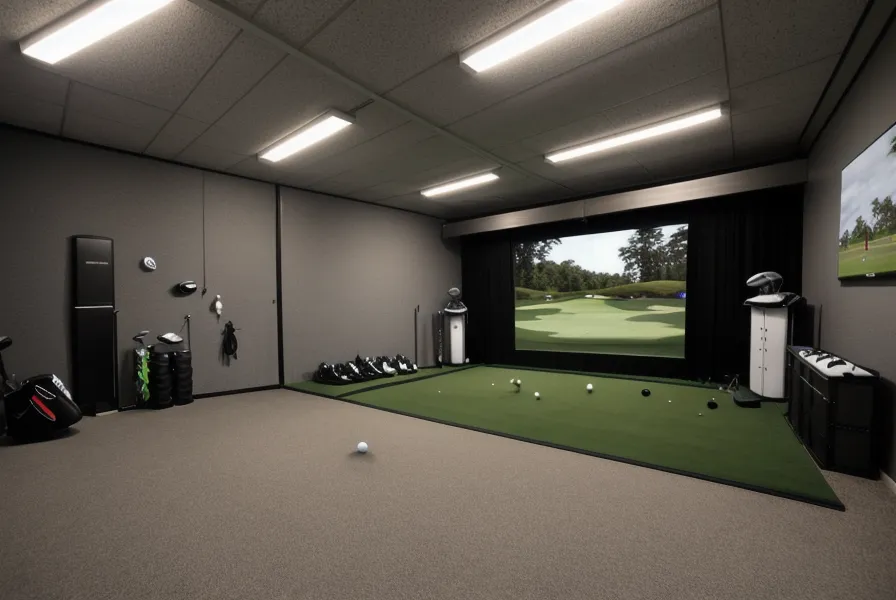
Three feet. That's the horizontal offset that finally got my projector out of my own swing path and stopped my torso from blacking out the impact screen every time I loaded into my backswing. If you're deep into a garage golf simulator build and every lighting fix you've tried starts and ends with "make the room darker," you're solving the wrong problem. The fix is projector position, not projector brightness.
This is a placement problem, not a shopping problem. Same projector, same screen, same launch monitor. Move the lens to the right spot and the shadow that's been eating your follow-through just stops showing up.
The Real Culprit: Projector Position, Not Room Light
My first attempt at fixing this had nothing to do with the projector at all. I hung roughly two hundred dollars of blackout curtains over the side windows, figuring a darker garage would swallow the shadow along with everything else it swallowed (my wife still brings up those curtains whenever a new simulator box shows up on the porch). It made the outline of my own swing sharper, not softer, because dimming the room doesn't move the light source, it just sharpens the contrast between the beam and whatever's standing in front of it. Two hundred dollars of velvet, wasted on the wrong theory entirely. The curtains stayed up for the privacy. They never touched the actual problem, which was a projector sitting directly behind where I stand to hit.
Once I accepted that the room wasn't the issue, the fix stopped being about equipment and started being about geometry — where the lens sits relative to where the club actually travels through impact.
How Far Back Should the Projector Actually Sit?
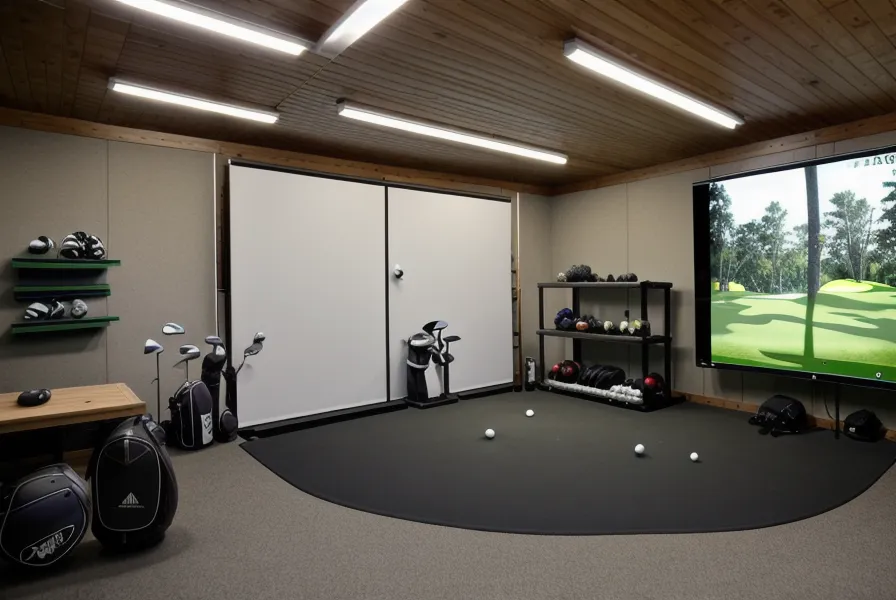
Standard-throw projectors need real distance behind the hitting position to fill a screen — call it a dozen feet or more depending on the lens — and if you're standing eight or so feet in front of that same screen, you're guaranteed to cross that beam somewhere in your swing. Short-throw units flip the math: the lens sits close enough to the screen that it can also sit close enough to (or even ahead of) your position, well outside the line between the light source and whatever body part is about to block it.
Getting that geometry to work does eat into how much clear ceiling and swing-path room the bay needs, which is really its own project. I've laid out the specifics separately on real garage golf simulator space requirements for anyone still measuring whether their two-car garage even has the depth for a short-throw setup. My next-door neighbor Patty leaned through the side door mid-project one afternoon, and true to form, she wanted to know how many outlets I had free and how much floor space the whole bay was eating before she asked what brand anything was.
Short-Throw Lenses Change Where the Light Actually Sits
Switching lenses concentrates the same 1920x1080 image into a tighter beam instead of spreading it thin over twelve or fifteen feet of garage air. My wife's coworker Shona texted me last week, relaying a question from her husband since he still refuses to join the sim Discord, asking whether a short-throw lens is worth the upcharge over a standard-throw model. Short answer: if your garage forces you to stand anywhere near the light path, yes, it's the difference between fighting your own shadow every session and not thinking about it at all.
None of that means the room lighting is irrelevant. It just means the beam concentration does more work than another set of blackout curtains ever will.
Move Off-Center to Dodge the Keystone Trap
When the garage door opener sits exactly where an overhead mount wants to go, which feels like it happens on every build, sliding the projector off to one side is the workaround. That introduces the keystone effect, where the image warps into a trapezoid instead of a clean rectangle. Most modern projectors can square that back up digitally, but push the correction too far and you start losing sharpness at the edges of the image — the fairway lines go soft first.
Three feet off the center line and about seven feet up gave me a clean path with only a small amount of digital correction needed. A stepladder, a tape measure, more trial mounts than I want to admit. Any side-mount also has to clear your full swing, driver included, so check your projector mounting height before you drill anything, not after.
Judging the Fix: What Shadow-Free Actually Looks Like
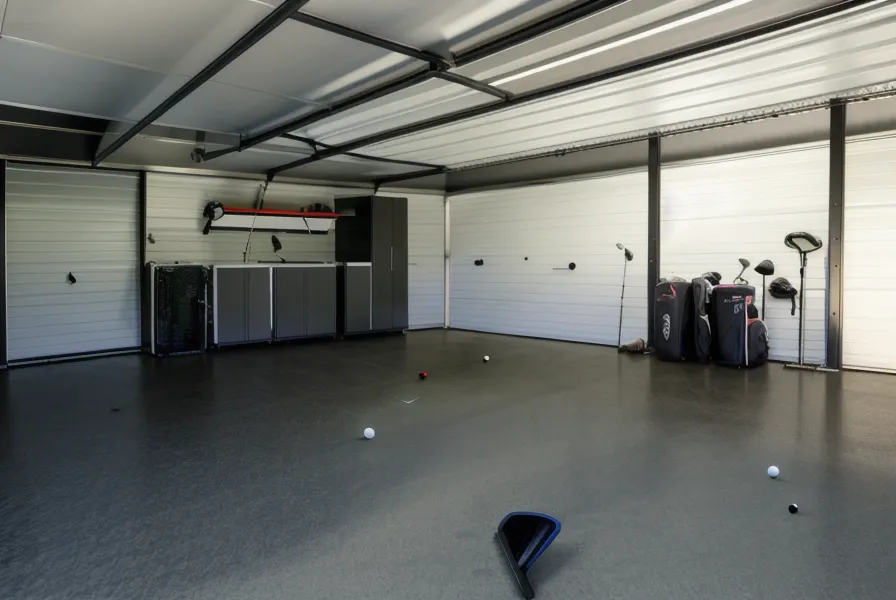
An impact screen is basically a home movie screen that happens to take a beating from a golf ball at speed — the durability side of that is its own conversation, but for shadow purposes, what matters is where the light lands on it, not what it's made of. Once the geometry's dialed in, the difference shows up immediately in the data as much as in the picture. I striped a 3-wood down the 13th at Augusta National a while back with the projector finally clear of my swing, and for the first time the shot traced across a screen that stayed lit the entire way through impact — no eclipse, no blackout, just the ball flight.
Two years into running this garage setup, the shadow fix is still the change that made the biggest difference to how the sim actually feels to play, driver swings in the mid-90s included. There's a rubbery edge to the mat smell that catches against a faint hint of grease off the garage door track whenever it rolls — not exactly Augusta, but it means the bay's warmed up and ready. I've since added a few smaller upgrades, including extra sim accessories around the launch monitor's cameras, but repositioning the projector is still the single fix that did the most for two hundred dollars of curtains I probably didn't need.